REVIEW · LONDON
Shoreditch Street Art Private Photography Tour including Brick Lane
Book on Viator →Run by London Photo Tours and Workshops · Bookable on Viator
Street art needs a photographer with patience. This private Shoreditch Street Art Private Photography Tour including Brick Lane turns the East End into your classroom, with a pro fine-art photographer guiding you to the best angles and teaching you how to compose. You get hands-on direction (not just sightseeing), plus a camera-focused approach that works with whatever you shoot on—camera or phone.
I especially like the personal coaching and the stop-by-stop structure that keeps you moving while still slowing down enough to get good results. I also like that the guide helps you build a story in your frame—people, color, and composition—not just capture a wall. One consideration: this tour is photo-work on foot, and refreshments or lunch aren’t included, so plan to bring what you need and expect walking time plus camera fiddling.
In This Review
- Key points to know before you go
- Why Shoreditch and Brick Lane work so well for street-art photos
- Meeting points and pacing: what 4 hours on foot really means
- Stop 1 in Shoreditch: color, viewpoints, and composing the scene
- Stop 2 in Brick Lane: framing small streets and adding context
- How the photographer coaching actually improves your shots
- Gear and photo prep: what to bring so you’re not stuck
- Price and value: does $332.63 make sense?
- What’s included (and what you’ll need to handle yourself)
- Who should book this tour—and who might want a different plan
- Should you book this Shoreditch + Brick Lane photo tour?
- FAQ
- FAQ
- How long is the Shoreditch and Brick Lane street art photography tour?
- Where does the tour start and end?
- Is this a private tour?
- Do I need to bring a camera or phone?
- What’s included in the tour price?
- What should I budget for outside the tour price?
- What is the cancellation policy?
Key points to know before you go
- Private, exclusive group format means the pace and teaching can fit you (or your personal group).
- Two focused areas: Shoreditch first, then Brick Lane so you can compare styles and streets back-to-back.
- Camera instruction tailored to what you own, so you’re not stuck learning someone else’s settings.
- Photo review breaks help you see what’s working immediately, not after the trip.
- East End street art changes daily, so you’ll practice shooting in a constantly shifting scene.
- Bring your own gear (camera or smart phone) and expect you’ll take extra photos.
Why Shoreditch and Brick Lane work so well for street-art photos
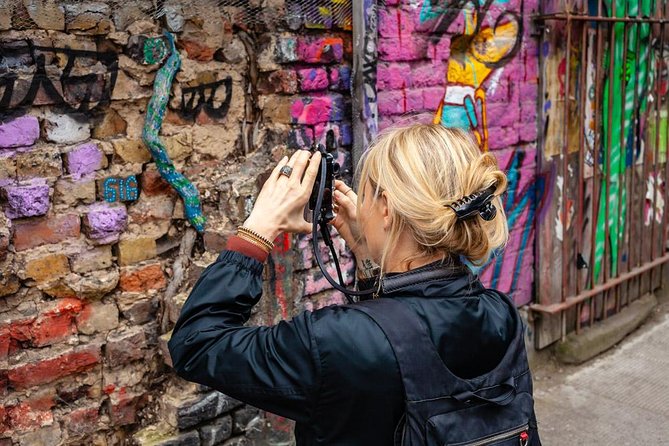
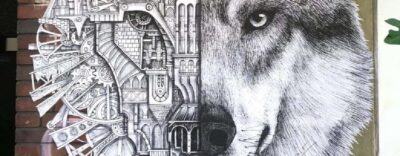
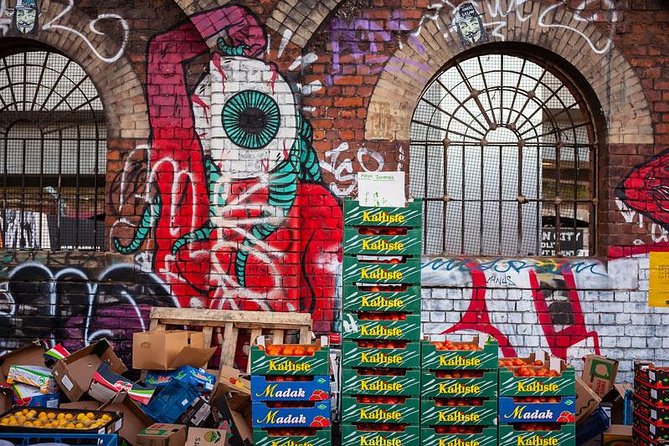
If you want street art photos that feel like London—not like generic wall art—Shoreditch and Brick Lane are a smart pairing. You’ll be in areas where street art shows up on more than just one type of surface. Think shop fronts, alley views, railings, lamp posts, and the kind of street clutter that can either ruin or improve a photo depending on how you frame it.
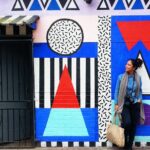
What makes the pairing extra useful is contrast. Shoreditch is often about texture, color density, and multiple layers of work competing for attention. Brick Lane leans into street-level composition—smaller colorful streets, galleries, and the people who make the scene feel alive.
You can also read our reviews of more tours and experiences in London.
Meeting points and pacing: what 4 hours on foot really means
This is listed as about 4 hours, split evenly into 2 hours in Shoreditch and 2 hours in Brick Lane. The tour is private and you’re moving on foot between spots, so you should expect a steady walking rhythm rather than long rest stops.
The good news: the timing isn’t “run-and-gun.” The format includes a short working break during the Brick Lane portion to review photos and build your skills for the rest of the tour. That balance matters because street art rewards patience—if you rush, you’ll miss the angle where the colors click.
Stop 1 in Shoreditch: color, viewpoints, and composing the scene
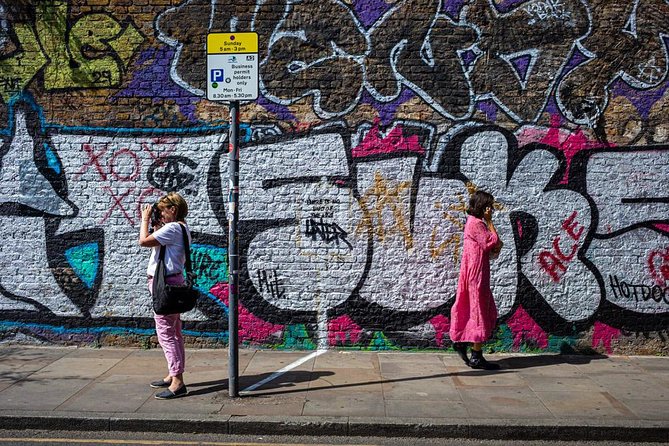
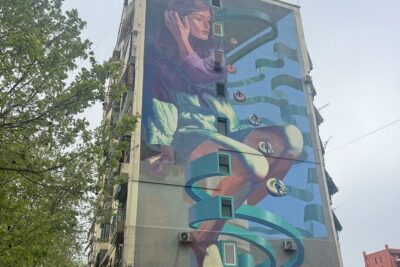
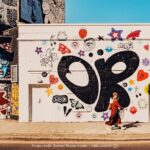
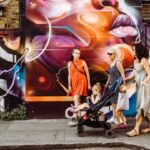
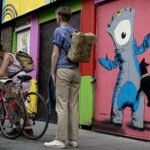
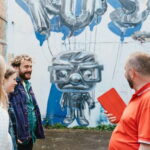
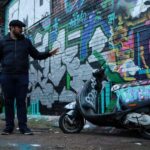
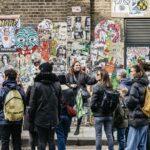
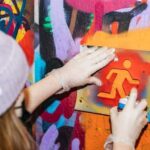
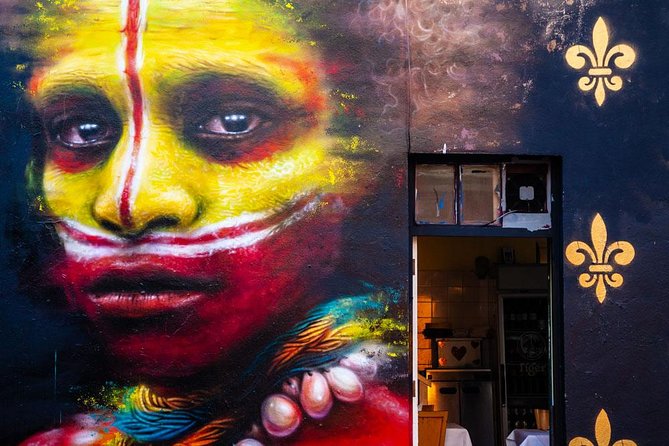
Shoreditch is where you start learning the East End’s visual rules. Street art here isn’t static. It covers walls, buildings, railings, and lamp posts—and new work is created daily, so the “set” keeps changing even as you’re there.
In this first stop, the guide focuses on teaching you how to photograph street art famous around the world, including artists named like Roa, Eine, Stik, and Shepard Fairey. More importantly, you practice techniques that translate to any artist you find on a wall later.
Here’s what you should expect the guide to help you do:
- Compose the street scene so the artwork has breathing room (instead of being trapped in the center).
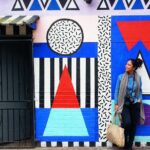
- Use color as the main story, not just something that looks pretty.
- Integrate people so your photo feels lived-in, not like a museum label.
- Build a frame that tells a mini story rather than just documenting paint.
One smart detail: the instruction is geared toward the camera you own. If you’re using a phone, you’re still learning how to think about framing and exposure. If you shoot with a DSLR or mirrorless camera, you’re learning practical settings and features that you might normally skip.
Stop 2 in Brick Lane: framing small streets and adding context
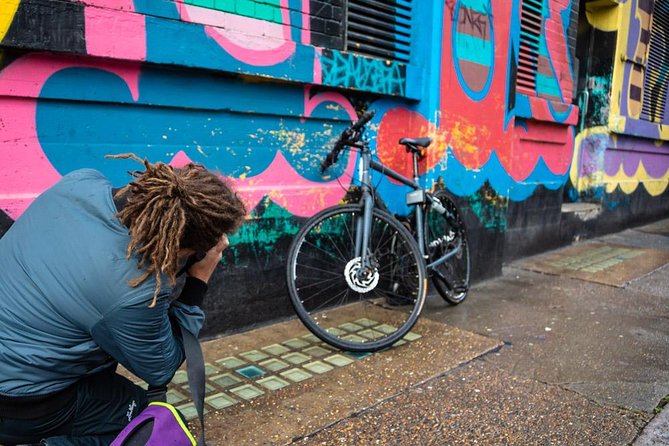
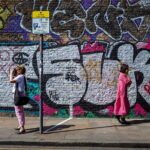
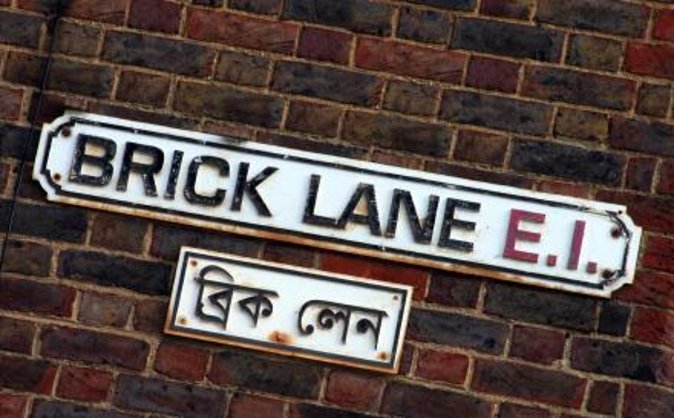
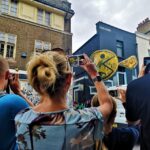
Brick Lane brings a different kind of photo challenge: composition in tighter, busy spaces. The tour continues with walking on foot through colorful shop fronts, art galleries, and the people of the East End. The goal shifts from simply finding striking walls to creating outstanding compositions in smaller streets.
This is where the “how to frame it” part becomes real. Brick Lane offers plenty of scenes where the artwork is only part of the image. You’ll practice building a shot that includes enough context to explain where you are, without turning the photo into visual noise.
You’ll also do a short review during this stop. That’s not filler time. It’s when you start seeing patterns—like what shutter speed or focus choices made your artwork look sharp versus muddy, or when the angle accidentally cut off key details. The guide also shares stories about the street art scene and the history of Shoreditch and the East End as it developed into one of London’s most distinctive areas to photograph.
How the photographer coaching actually improves your shots
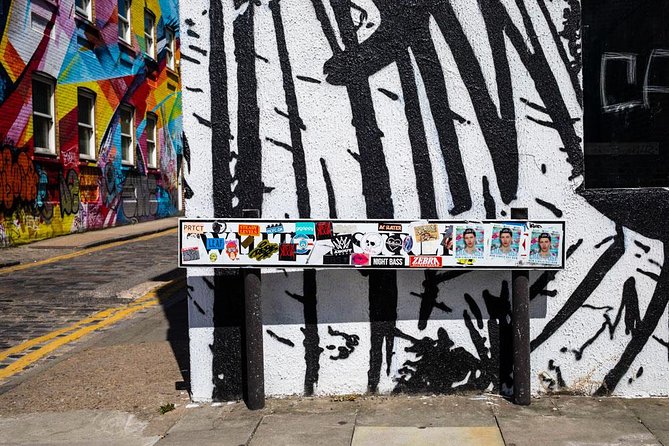
A good street-art photo isn’t just luck. It’s a set of repeatable habits, and that’s what this tour tries to build fast.
Two coaching elements matter most for value:
- You’re guided to best locations and viewpoints, so you’re not spending the tour wandering while trying to guess where the light will hit.
- You get expert instruction plus feedback, including a look at the photos you capture on the spot.
In the feedback style described with guides like Lou, the teaching is patience-forward and detail-focused. The emphasis is often on noticing the small things around the art that make it feel like a scene. You’re also shown how to use camera features you may have ignored before. One practical benefit is that you’ll likely adjust your approach in a way that works immediately—changing how you see a corner, not just how you press the shutter.

Gear and photo prep: what to bring so you’re not stuck
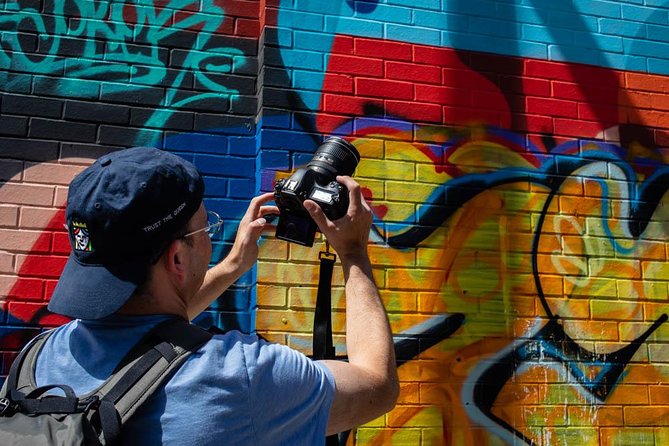
The tour asks you to bring your own camera or smart phone. That means you should show up ready to shoot, not ready to borrow gear.
At minimum, plan for:
- A fully charged camera battery and/or a spare battery
- Extra memory cards, because the teaching encourages you to take multiple variations of the same view
- Comfortable shoes for walking on pavement and turning into photo spots quickly
A simple tip: during street art, you can’t always “reshoot later.” The best mural might be blocked, partly covered, or gone the next time you walk past. More storage and a spare battery reduce the chance you’ll have to stop mid-practice.
Price and value: does $332.63 make sense?
At $332.63 per person, you’re paying for a private experience with a professional fine-art photographer and active teaching. This price can feel high if you expected a casual stroll or a guided gallery chat.
But it becomes easier to justify when you look at what you actually receive:
- Professional fine-art photography instruction (not just advice from a generic guide)
- A photographer who knows a multitude of cameras
- Review of your photographs and help developing your skills for what comes next
- Private tour exclusivity for your group
Also, the tour notes admission ticket free for both stops, which keeps the budget from creeping upward with add-ons just to access street photography locations.
Still, it’s not a fit for everyone. If you don’t want hands-on instruction or you’re only interested in seeing street art from the sidewalk, you might feel like you’re paying for coaching you won’t use.
What’s included (and what you’ll need to handle yourself)
Included in the tour:
- A professional fine-art photographer with extensive teaching experience
- Coaching that works with whatever camera you use
- Photograph review and guidance on how to improve
- Expert photography instruction
- A private tour exclusive to you or your personal group
Not included:
- Refreshments and lunch
- Travel to the meeting point or travel from the end point
- Gratuities
Service animals are allowed, and the experience says most travelers can participate, which is useful if you’re planning around mobility or support needs. Since it’s walking-based, your main practical factor will be comfort with moving for several hours while focusing on photography.
Who should book this tour—and who might want a different plan
This tour is a strong match if you:
- Want street art photos that look like you understood what you were seeing
- Like learning camera skills in real-world situations
- Prefer instruction that fits your specific gear, whether it’s a phone or a camera
- Enjoy the East End atmosphere and want to work with it, not just look over it
It may not be the best fit if you:
- Only want a casual look at street art with zero technical focus
- Hate walking or don’t want to spend time reviewing photos
- Are hoping for a food or drink-centered tour, since refreshments and lunch aren’t included
Should you book this Shoreditch + Brick Lane photo tour?
I’d book it if your goal is practical improvement: getting better compositions, learning how to use color, and figuring out how to include people in a way that feels natural. The combination of Shoreditch’s street-art density and Brick Lane’s frame-friendly streets gives you enough variety to practice multiple approaches in one session.
If you’re the type who likes to get home and keep shooting with new habits, this format makes sense—especially because you get photo review and guidance during the tour, not after.
FAQ
FAQ
How long is the Shoreditch and Brick Lane street art photography tour?
The duration is listed as approximately 4 hours, split into about 2 hours in Shoreditch and about 2 hours in Brick Lane.
Where does the tour start and end?
It starts at Shoreditch High Street, Braithwaite St, London E1 6GJ, UK. It ends at Primrose Street (Stop J), London EC2A 2EH, UK.
Is this a private tour?
Yes. It’s a private tour/activity, and only your group will participate.
Do I need to bring a camera or phone?
Yes. You should bring your own camera or smart phone. The tour instruction is geared toward the camera you own.
What’s included in the tour price?
Included are a professional fine-art photographer with teaching experience, expert photography instruction, review of your photos, and private tour exclusivity for your group. Admission tickets for the stops are noted as free.
What should I budget for outside the tour price?
Refreshments and lunch are not included, and you’ll also handle travel to the meeting point and from the end point. Gratuities aren’t included.
What is the cancellation policy?
Cancellation is free up to 24 hours in advance for a full refund. If you cancel less than 24 hours before the start time, the amount paid is not refunded.